I was in the lucky position to be able to commission a handmade Mathieson style Mitre Plane by Bruce Neville. This is my experience of the process and the results. This is a completely independent review. I paid the going rate for the plane and I expect to receive no payment or favours for writing it.
Commissioning
When I commissioned the plane, I had already been following Bruce’s work on Facebook and Instagram for a while. I’d seen his work, his thought process and seen the exchanges he’d had with other members of the group. I’d also seen his charges, which based on the handmade nature of his work, I thought reasonable. Bruce is also a furniture restorer so should know what a good plane looks like.
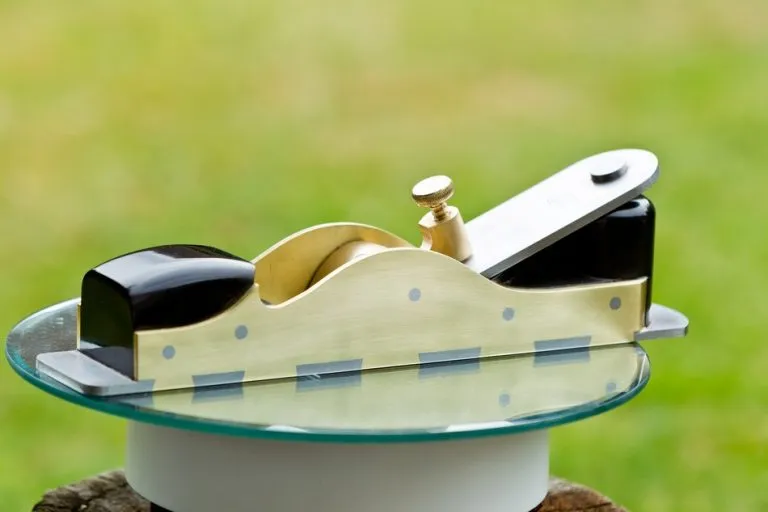
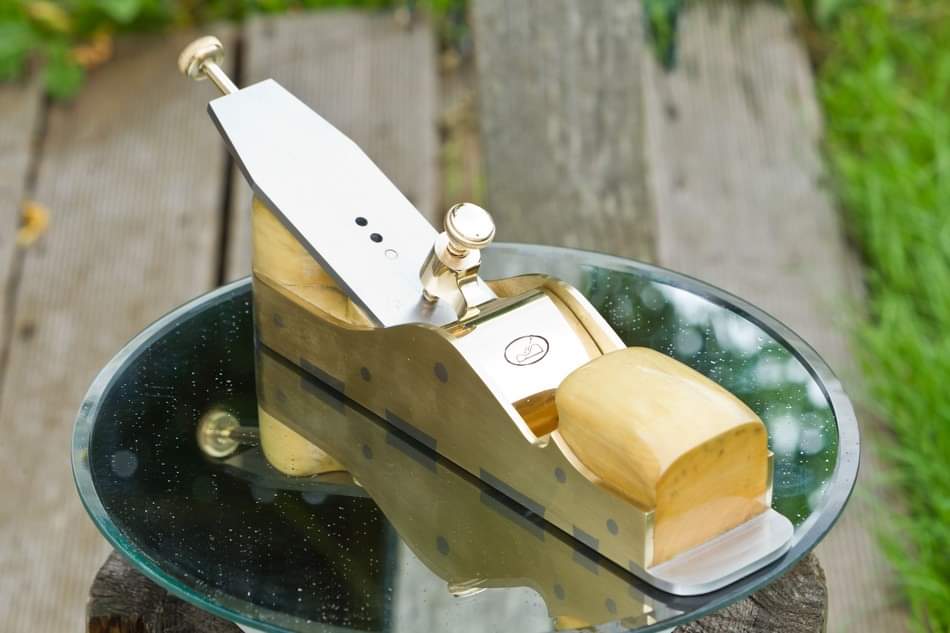
When I originally contacted Bruce I had seen the below picture which inspired the purchase. Bruce had made this plane in 2022, but since then he was now offering a Norris style adjuster of his own design. The cost in early 2023 was what I felt to be a reasonable £1250 which at the time was around AU$2300. If you think this is expensive then look up Sauer and Steiner or Karl Holtey planes and I’m not entirely convinced these are as ‘handmade’ as Bruce’s work.
Mathieson Style
Bruce offered me a choice of timbers including ebony, several types of rosewood, boxwood and anything else I desired providing he could buy a piece of it. I opted for boxwood.
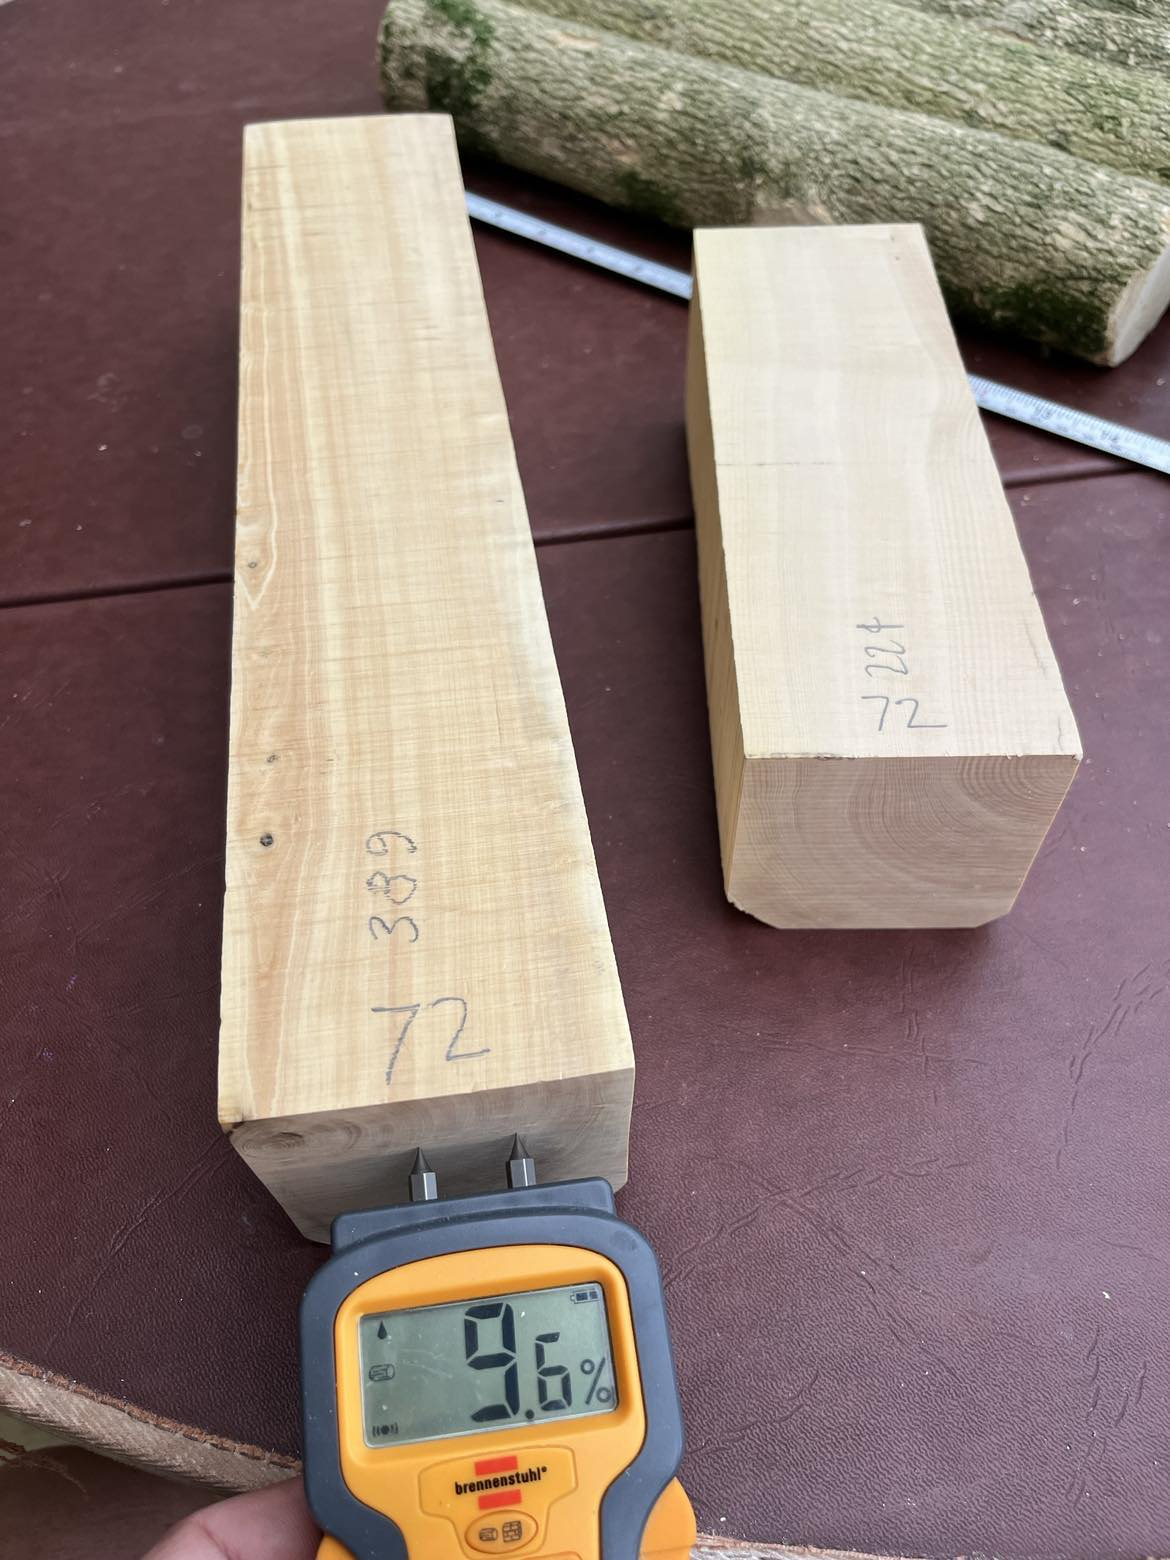
My plane took just over a week to build, but sourcing the materials took longer. Boxwood proved to be tricky, but luckily Bruce managed to get a nice piece from a trusted supplier. He showed me pictures of the boxwood, provided a moisture content reading and asked if I was happy to proceed. Yes please!
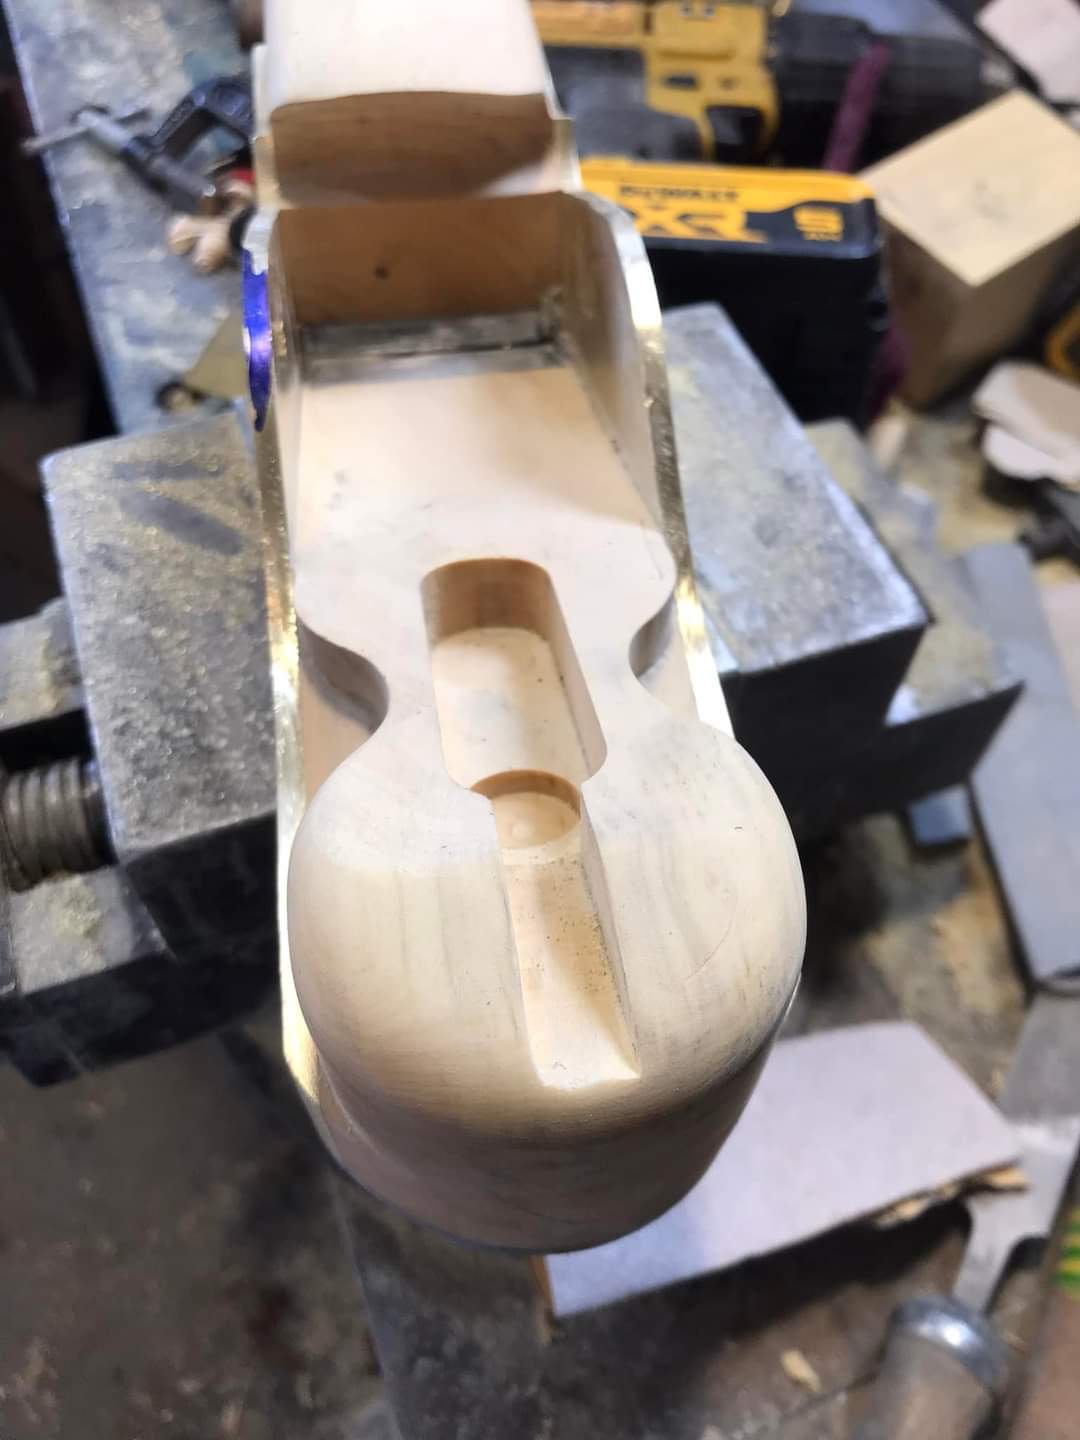
Plane Build
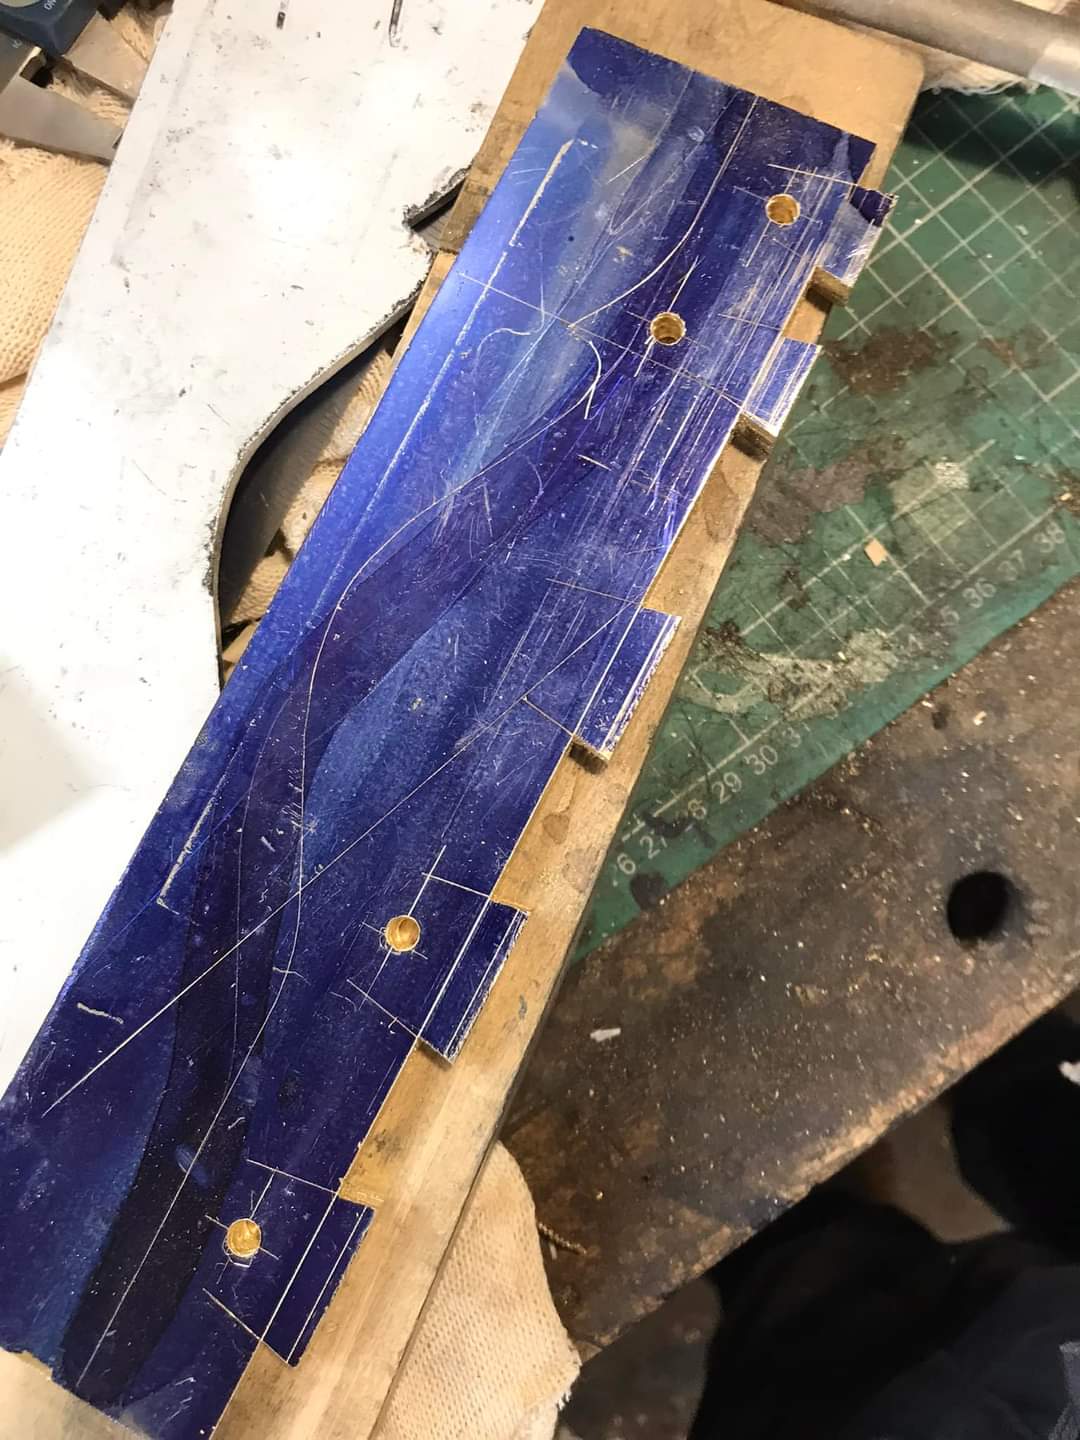
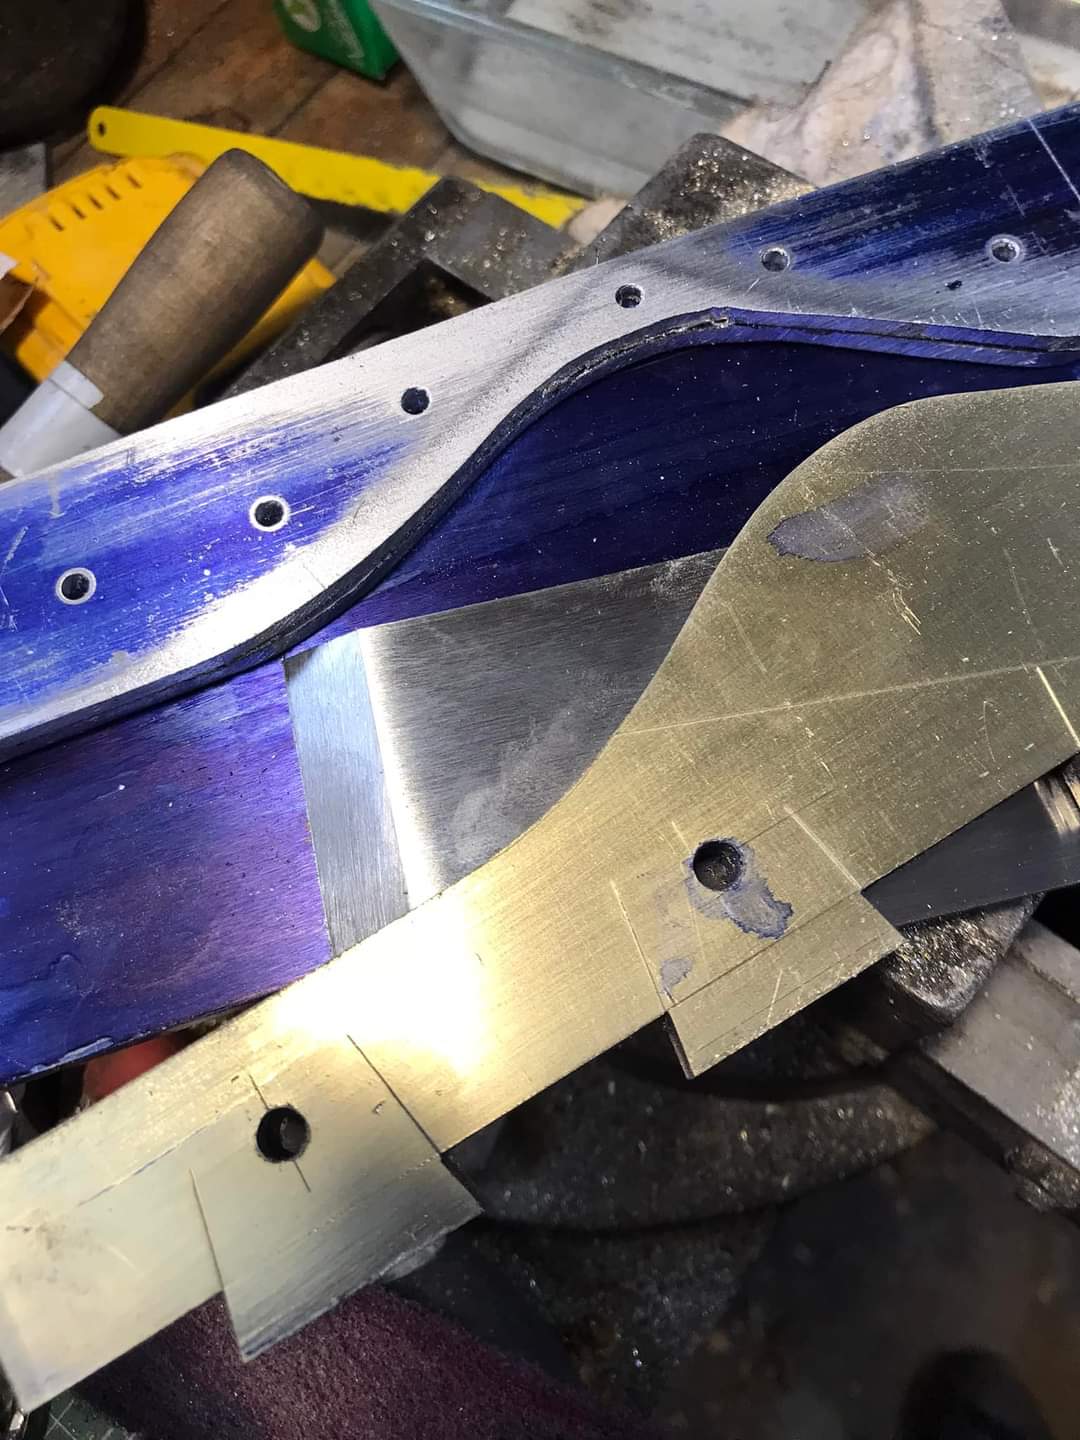
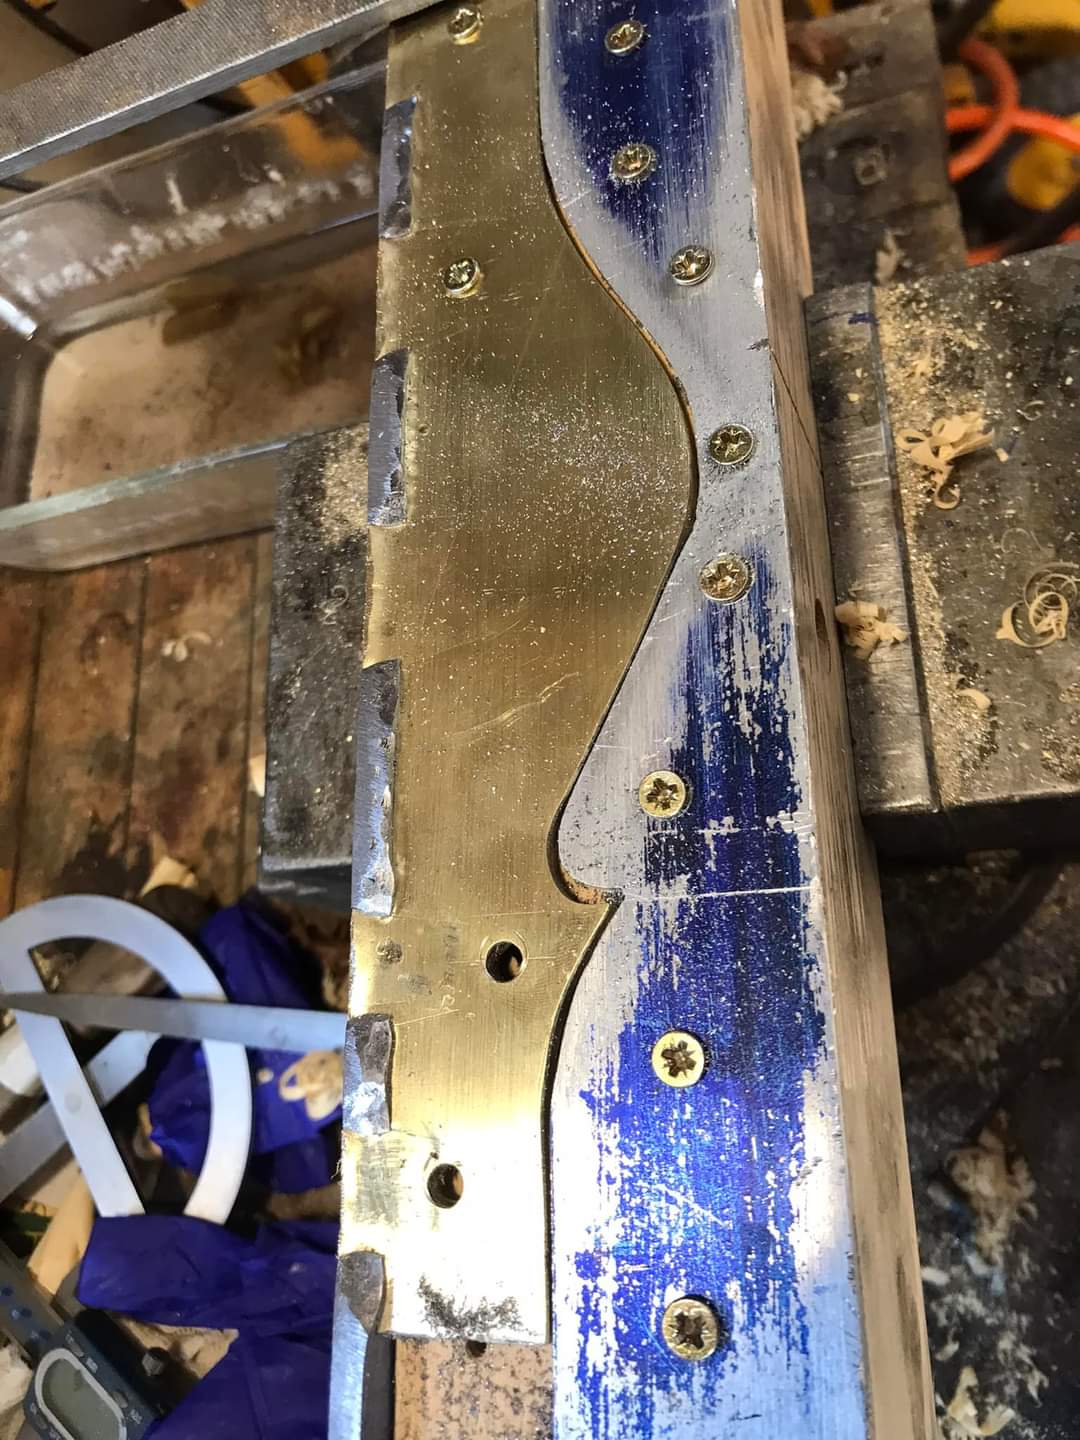
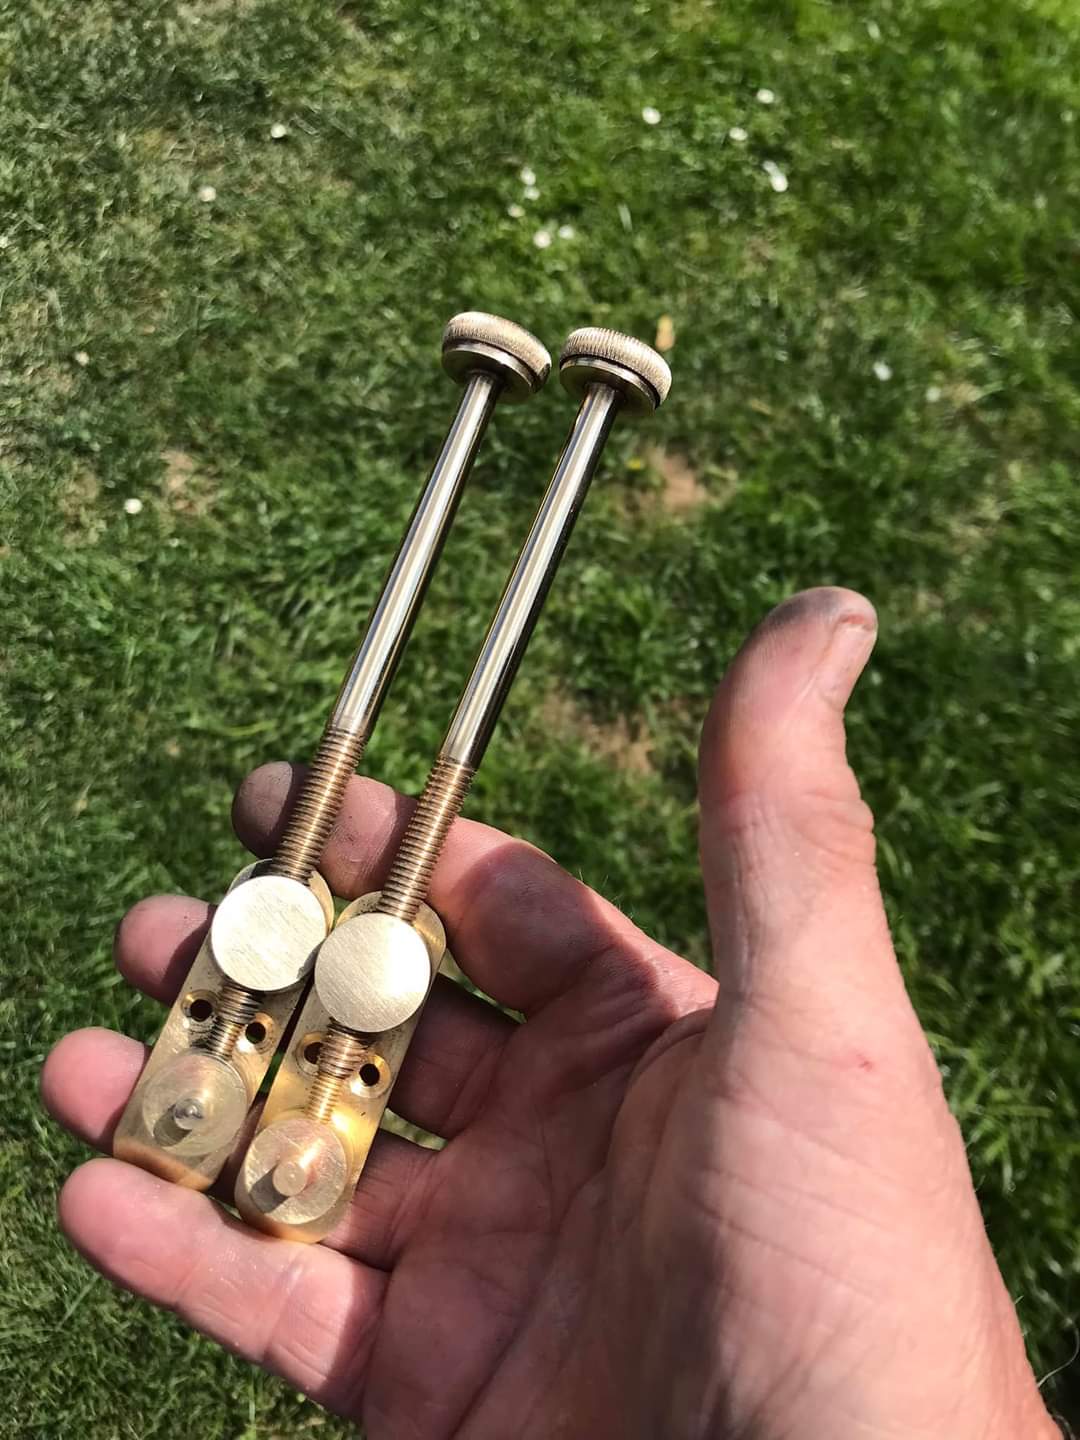
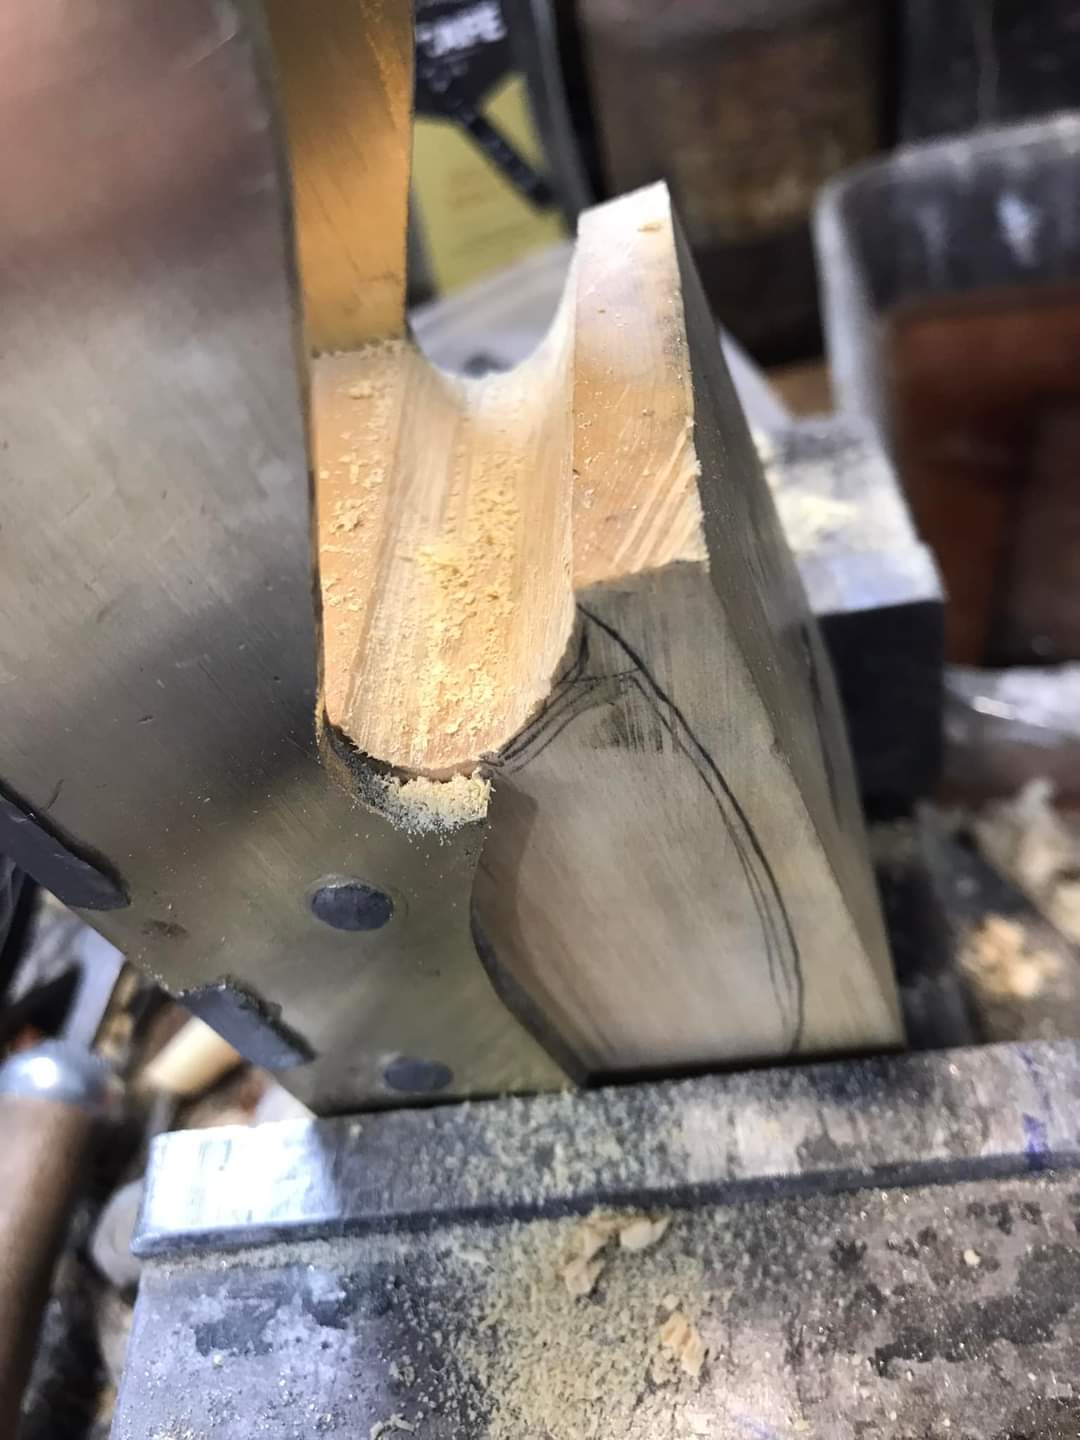
After asking permission, Bruce published pictures of the build online. I was delighted not only to see those pictures, but to share in his progress and tribulations along the way.

Results
Summary
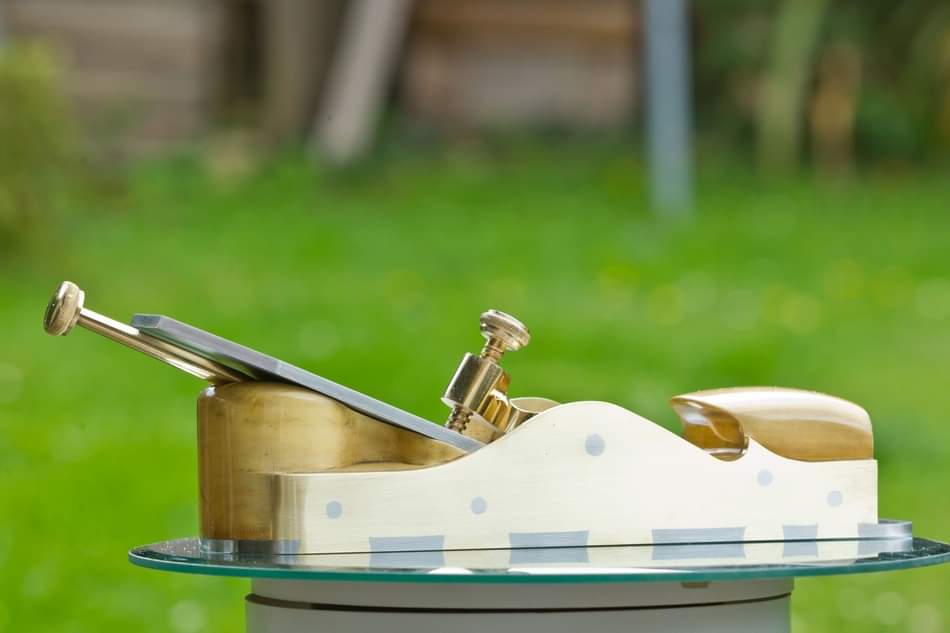
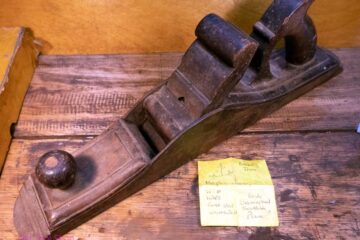
It’s a weighty beast at 2.4Kg and 10 1/2″ long. The O1 steel iron is also made and oil hardened by Bruce. He sharpens the irons I put it to immediate use. It worked really well on some tough figured grain. I spotted that the iron’s edge wasn’t as sharp as I like them and Bruce confirmed he generally only sharpens to 1000 grit. So I gave the iron the sharpening works and lubricated the sole and the results were awesome. I have several vintage infill planes including a Norris and several Mathiesons and this left them all for dead. Very impressive.
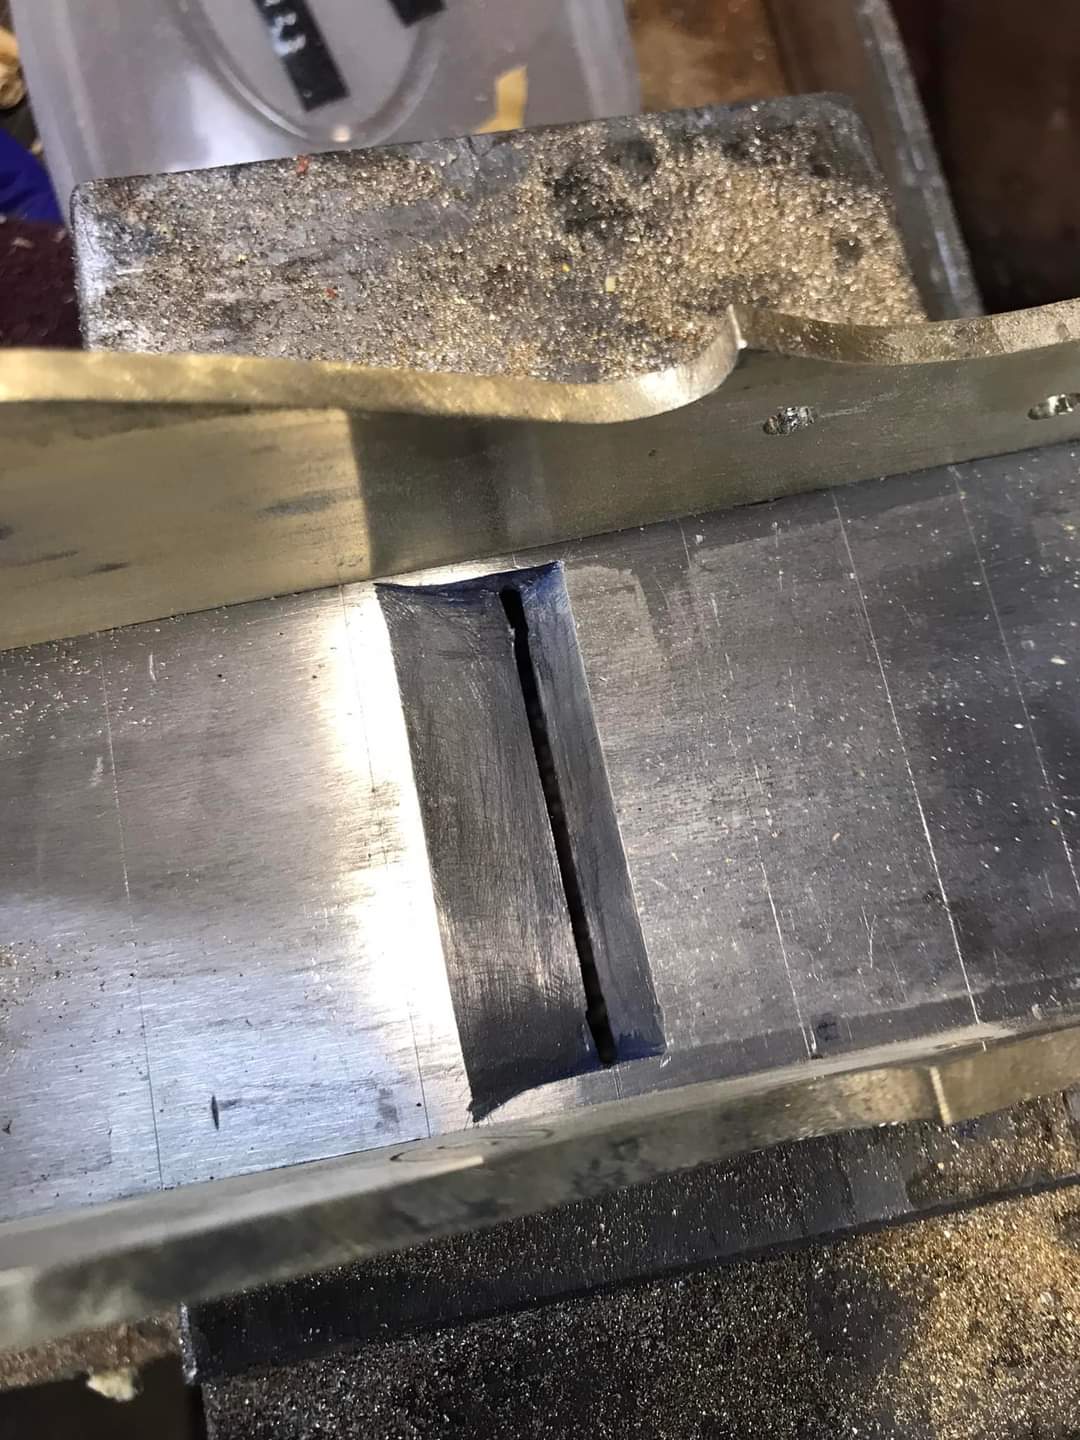
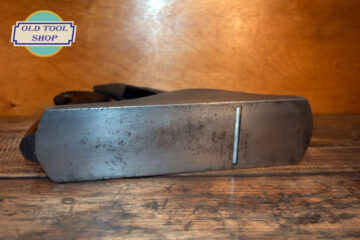
That mouth proved no problem at all and in fact I wonder whether a tighter mouth would have made the depth of cut too restrictive for me. It ended up well under a millimetre in width so not a big mouth by any means. So all-in-all, I’m a very happy man.
Postage was relatively quick (maybe 1 week), and wouldn’t have been very expensive except we agreed it was only fair to insure the plane for its true value. The only real kick in the pants in this was the 10% import duty and another $100 for processing the import. I expected the 10% duty – I didn’t anticipate the $100 fee.
Videos of that handmade Mathieson Style mitre plane
Summary
In summary, if you are thinking about buying one of these and you are in a position to do so, then go for it. You won’t regret it. Just don’t forget to figure in the shipping, insurance, exchange rate, import duty and import fees.
To contact Bruce, see all his details via the below link. You may even want to buy one of the many books he has written on plane making. I did. ![]()
0 Comments